No products in the cart.
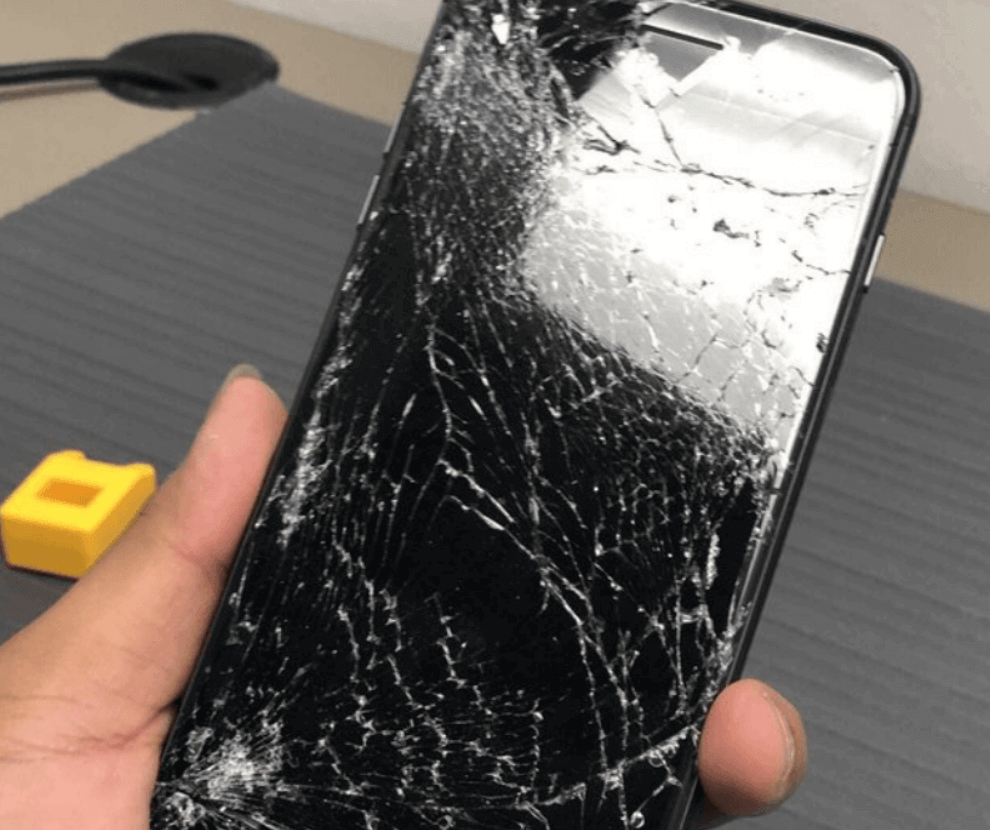
Can I replace the iPhone 7 screen at home by myself? Sure, you can replace the iPhone 7 screen easily with the iPhone 7 screen replacements tools and parts. This is a guide on how to replace iPhone 7 screen with iPhone screen replacements and repair parts. Please note the screen replacement parts should be complete. These parts should be accompanied by the installed front assembly, earpiece speaker and EMI shield for easy maintenance.
All you need to do is remove the old screen and transfer the home button to the new screen for Touch ID to work properly.
Things you need:
LCD Screen Replacement For iPhone 7
Some handy tools such as:
Screen opener, open and pick tools, spudger, screw drivers, suction handle or you may simply pick up a tool pack for iPhone 7 screen replacement.
Step 1: Remove the pantalobe screws.
Before you begin, you need to back up data and discharge the iPhone battery below 25% to prevent potential risks of catching fire or explosion of lithium-ion battery.
Then, turn off the iPhone 7 before you start. Opening the iPhone’s display will break its waterproof seal. Be prepared to replace the seal before proceeding with this step, or if you reassemble the iPhone without replacing the seal, take care to avoid contact with liquids.
Step 2: Tap over the display to prevent further damage and harm to your hand.
Tap over the display to prevent the further crack of glass. Still, you need to wear a protect glasses to protect your eyes.
Step 3: Opening the iPhone 7 Screen.
Heating the lower edge of the iPhone will help soften the adhesive holding the display, making it easier to open.
Use a hair dryer or prepare iPhone 7 screen opener and apply it to the lower edge of the iPhone for about a minute to soften the adhesive underneath.
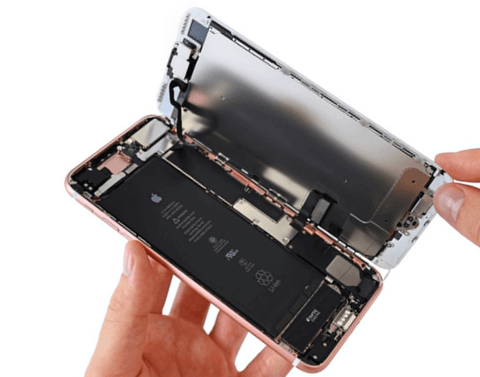
Connect the suction cup to the lower part of the display assembly, just above the home button. Pull the suction cup to make a small gap between the screen, Insert the flat end of the spudger into the gap. Slide the spudger to the left along the bottom edge of the iPhone. And open the iPhone 7 screen carefully. Don’t try to separate the screen display with iPhone in case of damaging the fragile cable and parts connected to iPhone logic board.
Step 4: Disconnect the battery.
Remove the four three-point screws used to secure the lower connector bracket, the lengths are as follows:
Three 1.2 mm screws
One 2.4 mm screw
Throughout the repair process, please keep track of each screw and make sure it returns to its original position accurately to avoid damaging your iPhone.
Remove the lower connector bracket and use the tip of a spudger to remove the battery connector from the socket on the logic board.
Step 5: Remove the LCD display from the iPhone body.
Step 6: Remove the front camera and ear piece.
We need to remove the five Phillips head screws holding the silver bracket to the top of the LCD assembly.
Use a spudger or tweezers to pull the front camera up and out.
You can now also remove the earpiece speaker.
Use a spudger to remove the ambient light sensor and proximity sensor. This is a very thin cable, which is easy to tear, so please use it carefully.
Step 7: Remove Home button / Touch ID
The Touch ID sensor must be removed carefully. If you cannot remove it safely or damage any of its connectors, you will need to go to an Apple Store.
Remove the five-point screw that secures the Touch ID and Home button brackets.
Remove all screws on both sides of the LCD shield. There are 5 three-point screws and 1 Philips head screw on the bottom edge.
Pull the LCD shield away from the screen. The flexible cable passes through the opening on one side.
Use a spudger to disconnect the home button cable connector.
Carefully disconnect the underlying connection.
Pry up the adhesive that secures the Touch ID and Home button to the back of the digitizer.
Push the home button forward through the front of the screen.
Step 8: Replace the new iPhone 7 LCD display.
Reconnect the front camera Flex to the logic board.
Use two Philips head screws to screw into the front camera EMI shield.
Reconnect the display cord.
Use four three-point screws to fix the flexible EMI shield of the display back to the middle right side of the phone. The longer screw is in the right corner.
Fold the screen onto the body. First insert the top of the screen into the frame. Be careful, it will click back into place, but don't press the glass too hard.
Screw in the two pentagonal screws on both sides of the lightning protection hole.
Leave a comment
Recent Posts


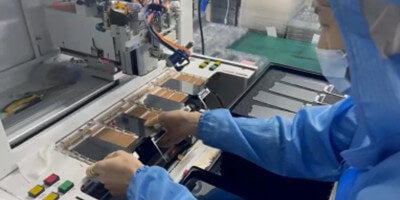
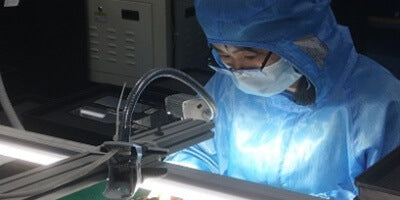
Source Factory Wholesale All Mobile LCD Screen Supplier

We can do OEM and ODM orders to help buyers develop in their market; looking forward to cooperating with you!.
We are a mobile lcd factory committed to manufacturing and selling high-quality LCD screens .
Our customers are professional repair stores, LCD screen wholesalers and wholesale cell phone parts distributors, mobile phone parts supplier,mobile display wholesaler,mobile display refurbishment companies, mobile phone parts trading companies, etc.
Our goal is to become a respected mobile phone lcd screen supplier, provide caring products for customers, and help customers solve problems 24 hours at any time,welcome inquiry,OEM&ODM order is acceptable.
Get the latest guides,news and discount information,Follow our company’s Facebook Click :Oriwhiz Phone LCD Factory in China.
- Write To Our Managers:https://taplink.cc/oriwhiz
- Email: info@oriwhiz.com