No products in the cart.
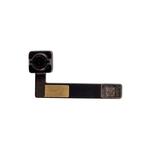
When the iPad front camera is damaged and cannot work normally, you need to replace the front camera. You can buy iPad parts by yourself, and then go to a professional repair shop for replacement, which saves money and is guaranteed. You can also replace it yourself. The following provides you with professional steps to replace the iPad front camera. If you have any questions, please feel free to consult.
iPad front camera replacement steps
First, prepare various replacement tools. Also note that before replacing the front camera, the iPad must be safely turned off.
- To turn on the iPad, you must heat the edge of the touch screen. Your SIM card is made of plastic and must be removed to avoid damage. To do this, use the SIM card eject tool to put it into the hole and press to remove the tray. Now completely remove the SIM card tray from the iPad.
- Be very cautious when opening the iPad. Open the iPad gently to avoid damage to the front panel. In the following steps, you must use a hair dryer to remove the sticker that fixes the screen to the rear panel of the iPad. Do not place it too close to the screen, otherwise it will be damaged. The home button on the edge of the iPad (not the screen) is made of plastic, so don’t heat it too much.
- Once the lower right corner is hot enough, insert a metal spudger between the screen and the rear panel. Using this tool, gently pry up the front panel, and then place a pick between the screen and the rear panel. If the front panel is resistant, do not use force. A little more heating area.The WiFi antenna of the iPad is located between the button and the lower right corner of the screen. Be careful not to insert the pick too far to avoid damaging it.
- Now heat the right side of the iPad screen. Don't forget to heat it properly, the hotter it is, the easier it is to remove. While heating this part, gently slide the metal spudger to the top. Don't hesitate to insert picks along the way so that the screen does not stick to the back panel.
- Continue to slide the metal spudger along the iPad. When you are close to the volume and vibration buttons, make sure not to go too far with a spudger to avoid damaging the button cables. If you feel you have to apply a little more force, please heat up the edges of the iPad.
- Repeat the same steps on the top of the iPad. On the iPad, the GSM and GPS antennas are located here. We recommend that you only use a spudger instead of a spudger to remove this part. If you feel you need to use force, please don't hesitate to heat the screen.
- Continue to gently remove the touch screen on the left side of the iPad. About 2 to 3 cm away from the lower left corner is the touch screen interconnection cable. As it is very fragile and thin, we recommend that you use a plastic pick to remove this part.
- Starting from the left side of the dock interface, gently start to remove the lower left side of the iPad. For this, please do not hesitate to heat the touch screen. Be careful with the home button.
- Put a pick in the lower left corner so that it will not stick together. The touch screen should now be completely removed. If the touch screen is still stuck to the rear panel in a different position, use a pick to gently remove the remaining adhesive.
- Now you can lift the front panel of the iPad from right to left. The touch screen interconnect cable is very fragile, so do not use force.
- Place the touch screen front panel on the left side of the iPad. Don't try to remove the touch screen for now, it is still connected to your iPad via a cable.
- Remove the four 2.0 Phillips screws that secure the LCD to the iPad frame.
- Now lift the LCD screen and place it on the touch screen of the iPad. If you encounter problems when lifting the LCD screen, use a nylon spudger to pry out the horizontal position of the lower right screw.
- Using a nylon spudger, gently lift up the small golden baffle that secures the cable to the connector on the logic board. After lifting, you can gently remove the cable to disconnect it.
- You can now remove the LCD from the iPad. To avoid leaving any fingerprints, do not directly touch the black part of the LCD screen.
- Using a nylon spudger, lift up the ribbon cable that secures the two connectors to the touch screen. Carefully pry the cable, not the connector, to avoid damaging it.
- Using a metal or nylon spudger, gently remove the touch screen cable from the rear panel of the iPad.
- Now lift the cable to disconnect the logic board. You can now safely remove the iPad’s touch screen.
- Use a nylon spudger to pry the small black part that fixes the headphone jack cable and the SIM card player to the connector. Make sure not to pry the connector itself. Use a nylon spudger to remove the rear panel cable from the iPad.
- Remove the three 2mm screws in the red circle, and fix the SIM player to the back shell of the iPad.
- Remove the two Phillips screws that secure the plug to the back shell of the iPad.
- Using a nylon spudger, completely remove the cable from the rear panel. Still using a nylon spudger, remove the plug from the socket.
- Gently remove the control jack cable and the plug on the rear panel of the iPad and the front camera.
- Use a nylon spudger to remove the small tape covering the front camera.
- Use a nylon spudger to unplug the front camera from the plug of the iPad. After disconnecting, move the cable to the bottom. Don't try to separate them now, because they are still connected together.
- Use a nylon spudger to unplug the plug cable from the front camera. Once the cable is disconnected, you can completely remove the plug cable from the iPad.
- Use tweezers to gently remove the small tape under the camera. By removing the adhesive, make sure that the camera cable will not be damaged.
- Use a nylon spudger to pry up the top of the camera and remove it from the back shell of the iPad. After removing it, you can replace it with a new one if necessary.
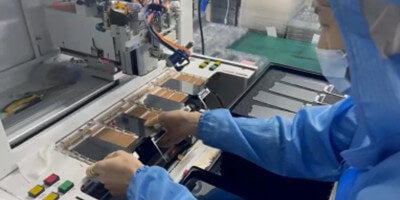
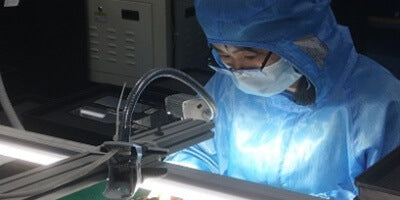
iPad front camera supplier
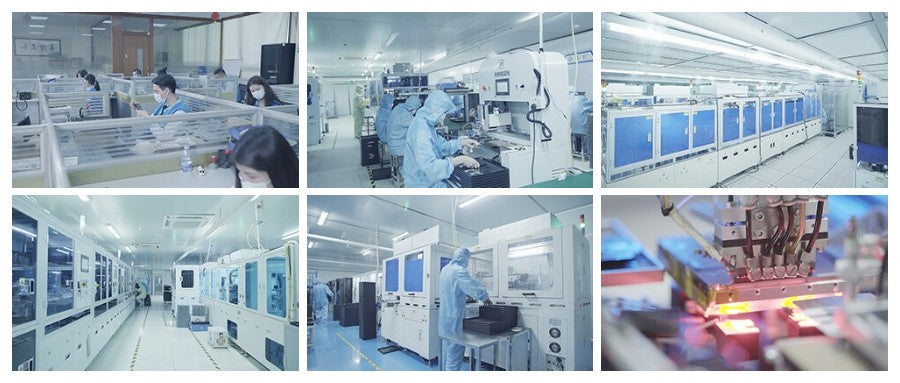
If you are looking for high quality iPad repair parts. Oriwhiz products can meet your needs, just browse the iPad repair parts and select the product you want, if you would like to buy iPad repair parts in bulk, please go to the wholesale page.
Leave a comment
Recent Posts


Source Factory Wholesale All Mobile LCD Screen Supplier
We can do OEM and ODM orders to help buyers develop in their market; looking forward to cooperating with you!.
We are a mobile lcd factory committed to manufacturing and selling high-quality LCD screens .
Our customers are professional repair stores, LCD screen wholesalers and wholesale cell phone parts distributors, mobile phone parts supplier,mobile display wholesaler,mobile display refurbishment companies, mobile phone parts trading companies, etc.
Our goal is to become a respected mobile phone lcd screen supplier, provide caring products for customers, and help customers solve problems 24 hours at any time,welcome inquiry,OEM&ODM order is acceptable.
Get the latest guides,news and discount information,Follow our company’s Facebook Click :Oriwhiz Phone LCD Factory in China.
- Write To Our Managers:https://taplink.cc/oriwhiz
- Email: info@oriwhiz.com