No products in the cart.
MacBook pro
MacBook Pro is a notebook released by Apple at the MacWorld 2006 conference by Steve Jobs on January 11, 2006, to replace the PowerBook G4 product line. At WWDC 2012, Apple's senior vice president of global marketing Phil Schiller released the third-generation MacBook Pro with Retina display and redesigned, with a resolution of up to 2880x1800 and 220ppi. The thickness is only 18mm. At the end of 2013, Apple updated the MacBook Pro series. Only the remaining MacBook Pro 13" does not have a Retina display, but it is the last laptop model that can replace the RAM and hard drive by itself. Replace MacBook Pro with SSD The hard drive can make the MacBook Pro start up faster, copy files in the blink of an eye, and make the system more responsive when multitasking.
MacBook repair tools
screwdriver
MacBook Pro laptop
mSATA chassis
SSD hard drive
(You are welcome to visit our website ORIWHIZ.COM to get your MacBook repair tools.)
MacBook repair Method/Step
First, Clone your hard drive
The first step is to clone your Mac hard drive to the SSD. Utilities such as Carbon Copy Cloner can be used and will show you how to do this using Apple's own Disk Utility program.
- Use mSATA chassis or adapter to connect SSD to Mac.
- Open Disk Utility in the application folder.
- Click the SSD icon, and then select the Partition tab. In the location where the partition layout is located, select "1 partition". There is a box labeled "Options..." at the bottom of the window. Click the box and select "GUID Partition Table" in the opened window.
- Click the First Aid tab, and then choose to verify disk permissions. After the process is complete, choose to repair disk permissions. When finished, choose Verify Disk, and then choose Repair Disk.
- Shut down the Mac, then restart it while holding down the Option key. Select the option to boot to the recovery disk.
- Select the option to reinstall Mac OS X. Select SSD as the target disk. This process may take more than 30 minutes.
- Copy files from the original hard disk. After the operating system is installed, the utility will ask you if you want to recover files from other disks. Select the original hard drive. Depending on how many files you have, this process may also take some time.
Second, install SSD
The laptop must be disassembled.
- Turn the Mac over and find 10 screw holes.
- Use a Phillips screwdriver to remove the screws. Note: It is recommended to put the screws in a small bowl or on other things so that the screws will not be lost.
- Pry open the bottom of the MacBook Pro.
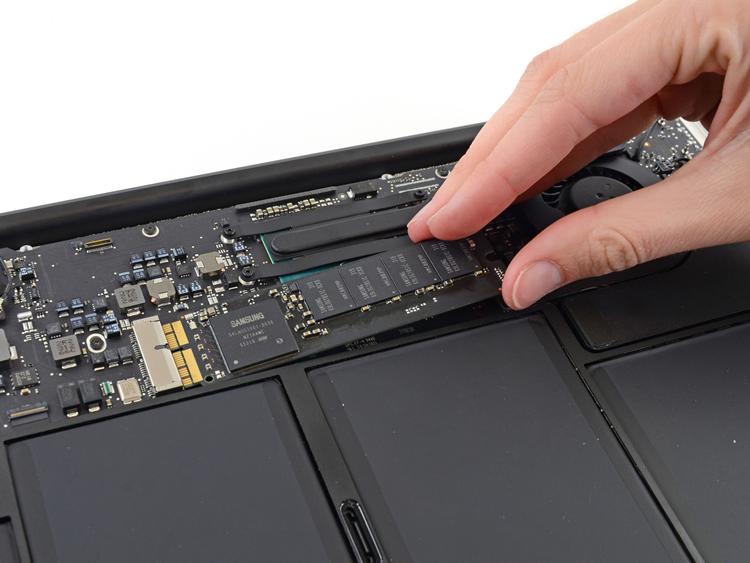
- Find the hard disk. It is fixed by a small piece of plastic. Remove the screws holding the plastic sheet.
- Gently remove the hard drive from the case, and then take out the ribbon that connects it to the notebook.
- The four sides of the hard drive are four small metal pillars. Use a screwdriver to unscrew the post.
- Connect the mSATA ribbon to the SSD, and then put it back in the notebook. Reinstall the plastic sheet that holds the drive in place, and screw the bottom back into place.
- Reopen the notebook. Open System Preferences, and then start the disk. Select SSD (it should be the only one listed), and then restart the notebook.
Oriwhiz (Shenzhen DongYe Tengfei Electronics Co., Ltd) is a professional iPhone, iPad, iMac, Xiaomi, Huawei, Samsung, Sony, LG, ASUS, Mac Book repair parts and repair tools supplier. Oriwhiz team aims to provide the best quality cellphone replacement parts and repair tools to all customers. We provide comprehensive solutions for cellphone, digital devices, computer repair shops with powerful and handy cellphone repair packages, repair tools, and repair machines. Browse our product category to select an item you like or contact us for wholesale and distribution issues.
Leave a comment
Recent Posts


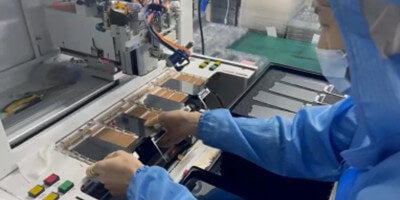
Source Factory Wholesale All Mobile LCD Screen Supplier
We can do OEM and ODM orders to help buyers develop in their market; looking forward to cooperating with you!.
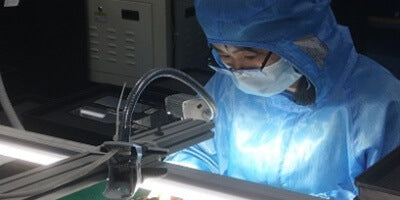
We are a mobile lcd factory committed to manufacturing and selling high-quality LCD screens .
Our customers are professional repair stores, LCD screen wholesalers and wholesale cell phone parts distributors, mobile phone parts supplier,mobile display wholesaler,mobile display refurbishment companies, mobile phone parts trading companies, etc.
Our goal is to become a respected mobile phone lcd screen supplier, provide caring products for customers, and help customers solve problems 24 hours at any time,welcome inquiry,OEM&ODM order is acceptable.
Get the latest guides,news and discount information,Follow our company’s Facebook Click :Oriwhiz Phone LCD Factory in China.
- Write To Our Managers:https://taplink.cc/oriwhiz
- Email: info@oriwhiz.com