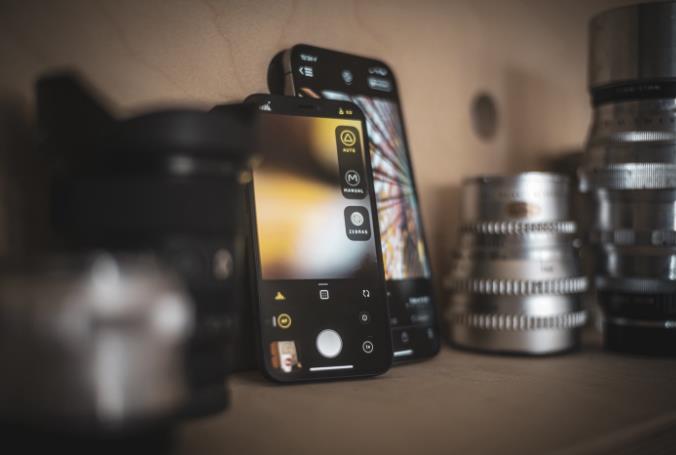
iPhone photography is becoming more and more popular these days, especially with the recent release of updated products. Whether you own the latest iPhone Pro model or one of the earlier versions (like me!) The most important thing is that you are taking pictures with your smartphone.
Photography enthusiasts will also be able to use the iPhone to take pictures instead of pulling all the camera gear out of a bag, which would be more enjoyable. So how do you become a beginner iPhone photographer, making more efficient use of your iPhone front camera or back camera?
- First you need quick access to your iPhone camera
Let's start with something nice and simple! One of the biggest advantages of using the camera on your iPhone is that it's always easy to access... But do you know of a shortcut that can be used to activate it?
Sometimes, when capturing a moment is important, there's no time to waste in unlocking the phone, finding the iPhone camera app and waiting for it to load.
You can do this faster by simply swiping up on the lock screen and tapping the camera icon.
- Use the volume button to take clearer photos
A camera shake is the main enemy to getting sharp. If this happens, it inevitably leads to blurring, which is something you won't see in a photo... Unless, of course, it's on purpose!
When taking a selfie, it's really hard to press the camera shutter button, especially with your hand open.
The easy way is to simply squeeze the volume up button on the side of the iPhone to take a picture. Obviously, this is most convenient when the phone supports landscape or side to side.
- Keep the lens clean for sharper shots
Most smartphones spend a significant part of their lives in the hands of their owners, which means they are covered with fingerprints. Often, those fingerprints end up in the last place you want them: your iPhone lens!
A useful habit to develop is to get into the habit of quickly cleaning your lens before taking a photo -- this ensures there are no smudges, dust spots, or blurry areas on the image. This may sound like a very simple tip, but this one alone can have the biggest impact on getting clear photos!
- Take more pictures than you want or need
Becoming a better photographer doesn't happen overnight, so be prepared to take lots of pictures. Professional photographers take hundreds or even thousands of pictures in a single shot. The more shots you take, the better your chances of getting the shots you want.
When shooting people, taking multiple shots is the best way to ensure a good expression, and the same goes for wildlife and pet photography.
- Use tandem mode to capture action shots
Continuous mode is a quick and easy change to the shutter button, allowing you to take 10 photos per second. All you have to do is press the shutter with your finger and the iPhone does the rest. This is a great way to capture fast-moving action, silhouettes, children and group photos.
- View HDR mode for high contrast photos
HDR stands for high dynamic range or the ratio of light to darkness in a photograph. For scenes with a lot of detail, it may be difficult for your iPhone camera to properly expose all areas of the lens. Your sky may have beautiful bright spots, but your outlook will be in shadow.
When you use the HDR mode provided in the Camera app, your iPhone actually takes three photos, all at different exposure levels, and then combines them together to get a perfectly exposed picture. HDR mode is best for landscapes, still-life shots, and photos with strong shadows or low light. This is not a good option for high-exercise scenarios.
- Use the rule of thirds to balance your composition
You don't need years of experience to create well-composed photos. Use the rule of thirds first when composing. This basic principle means composing your shots so that the point of interest is off-center.
To make it easier to use the rule of thirds, you can enable the grid feature in your camera Settings. Use a grid to place your subject at one of four grid intersections for professionally composited photos.
- Use portrait mode for beautiful bokeh shots
If you're shooting with an iPhone 7 Plus, iPhone 8 Plus, iPhone X or XS model, or one of the higher models, you can use portrait mode in the Camera app to create a nice blurry background. To do this, open the camera app, tap the portrait, and then compose.
Your subject should be 2 to 8 feet away from the camera. When a yellow box appears with the words "Depth effect" or "natural light," you can click the shutter. You can combine portrait mode with serial mode to ensure perfect facial expression.
Last but not least, your iPhone's camera must be in perfect condition. If you find a lens worn or damaged, it can affect your path to becoming a beginner photographer.
About Oriwhiz
Oriwhiz (Shenzhen DongYe Tengfei Electronics Co.,Ltd) is a professional iPhone repair parts, iPad, iMac, MacBook, Xiaomi, Huawei, Samsung, Sony, LG, Asus repair parts and repair tools supplier which has served thousands of repair shops with wholesale parts and hundreds of thousands of individual customers with the parts needed to fix their own iPhone, iPad, MacBook, and other digital devices.
If you are looking for iPhone back camera replacement part or front camera repair parts replacement or other iPhone repair parts, please feel free to click on products category and select the product you want.


